


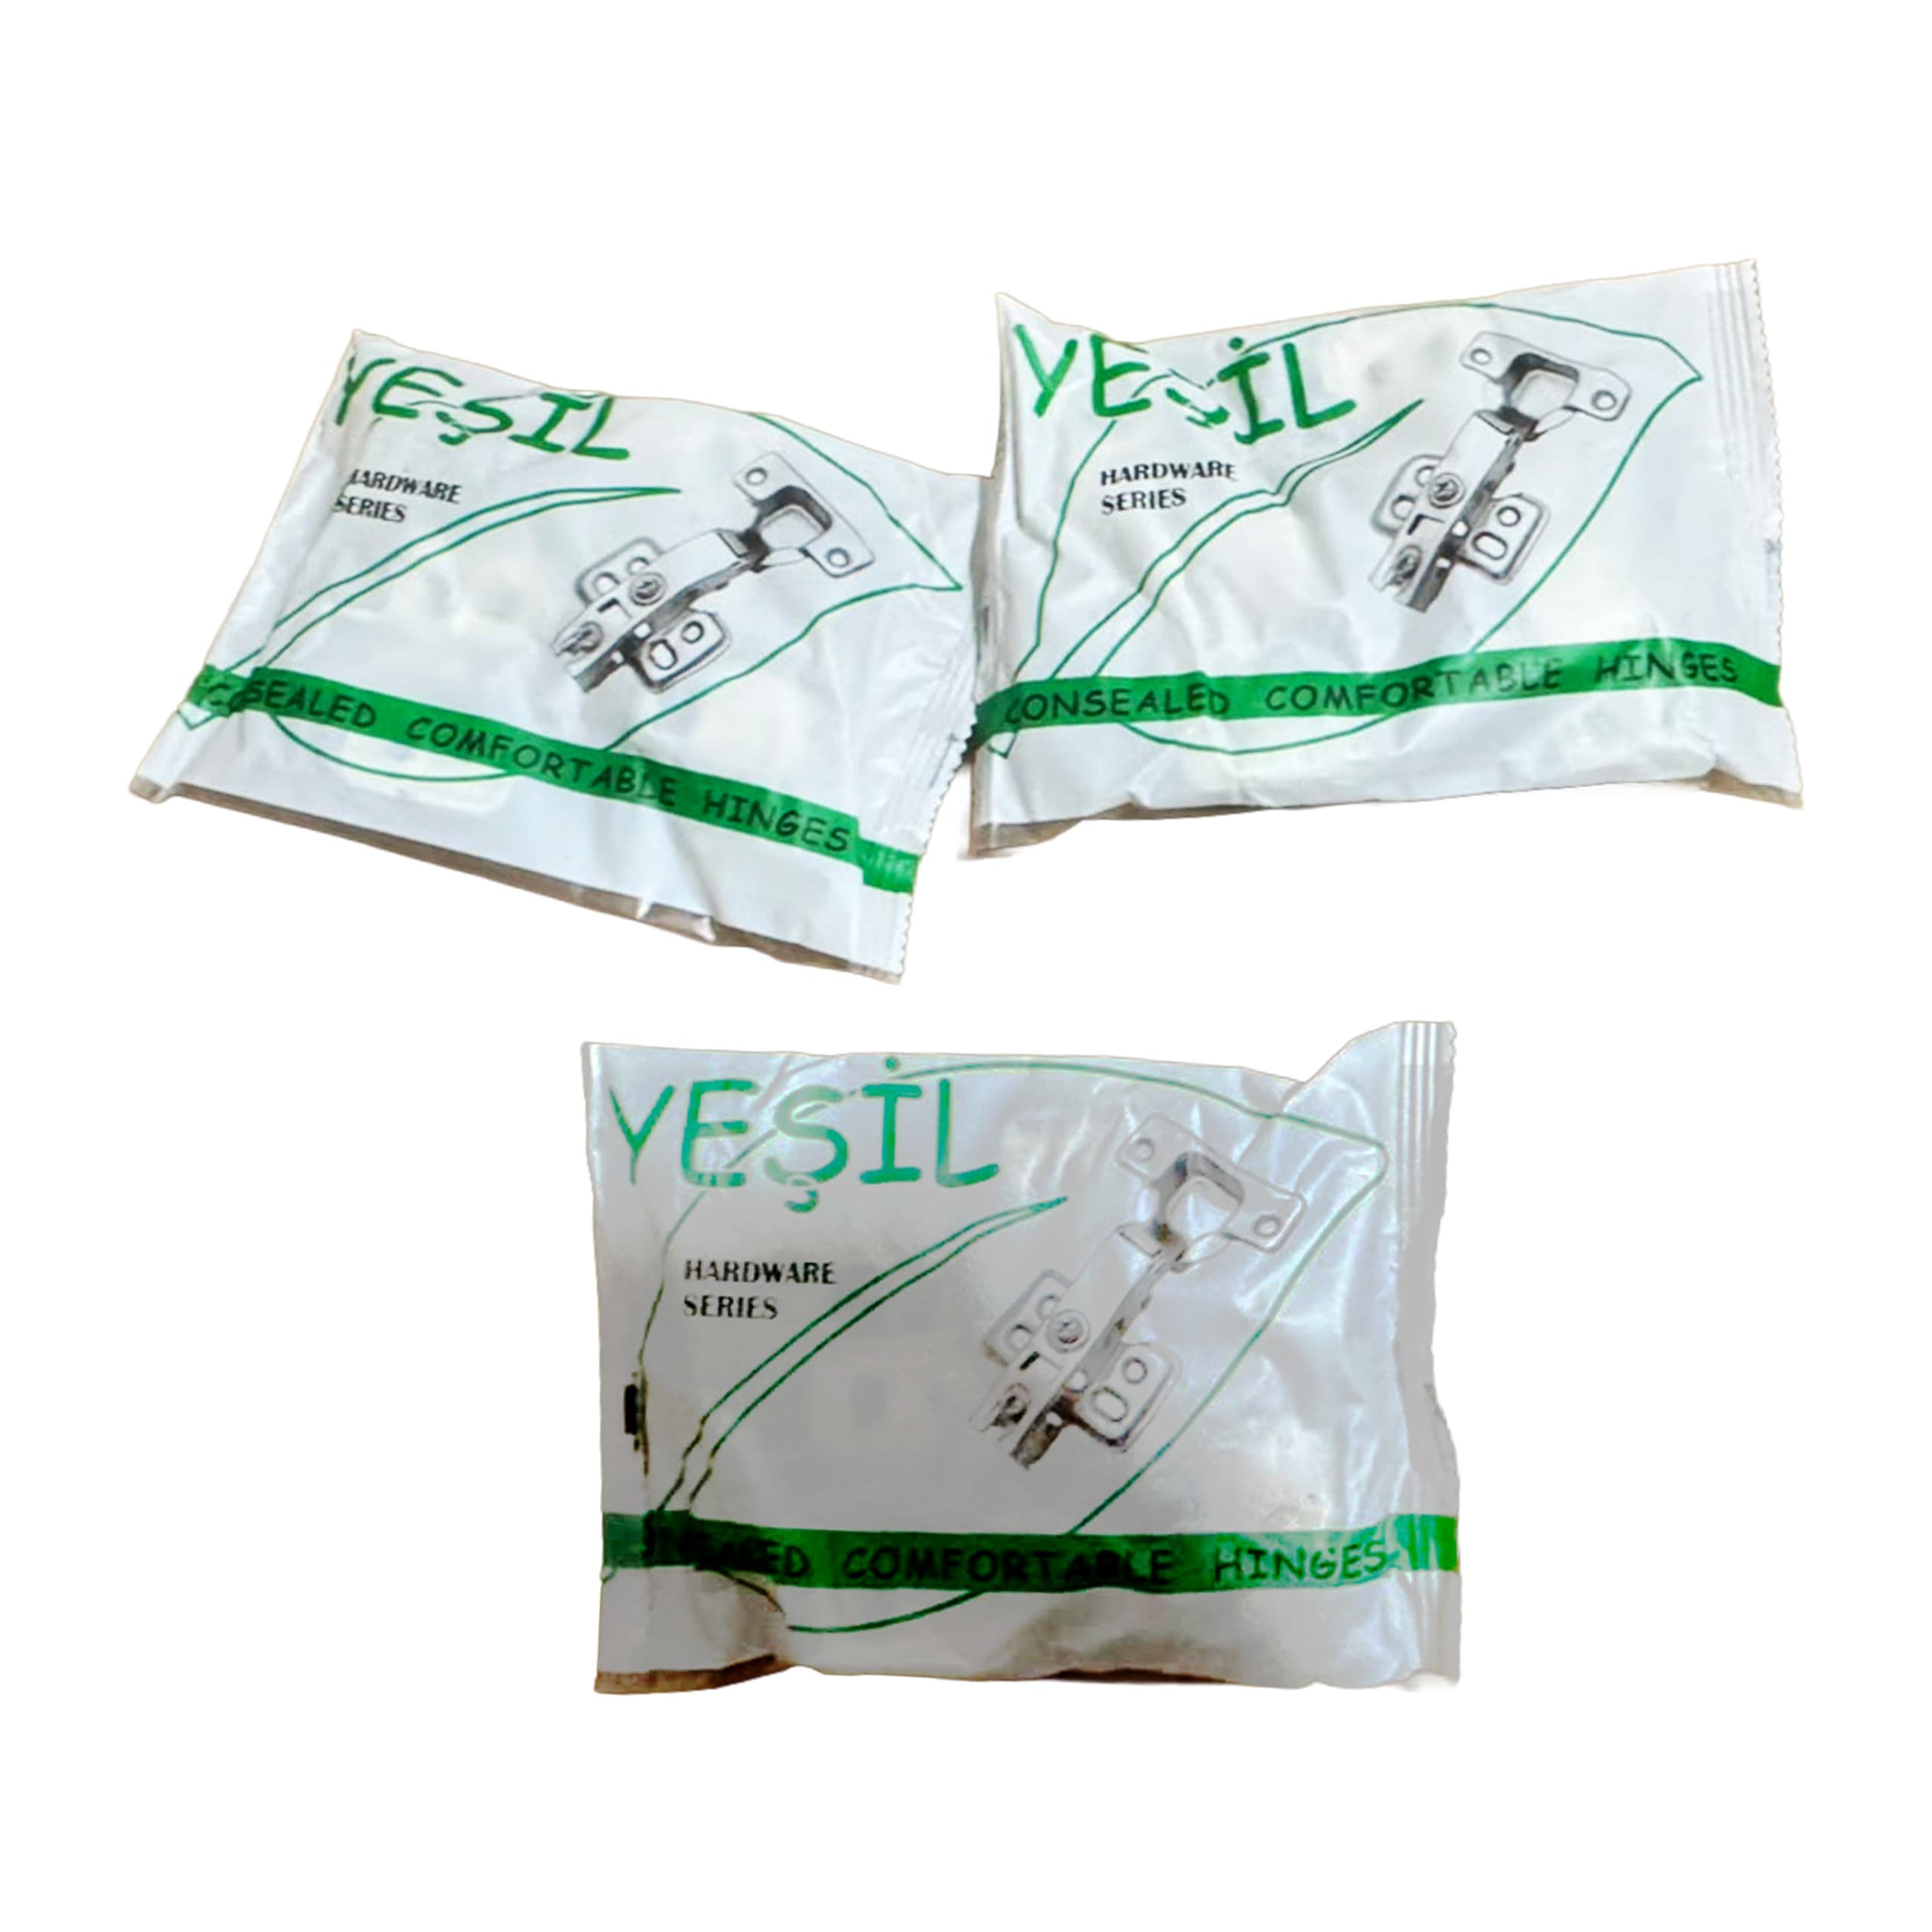
 Hinges
How to Install and Adjust Cabinet Hinges
How to install cabinet hinges in four jobs: mark the door, drill a 35 mm cup hole, fix the plate to the carcass and adjust with the screws. This article goes through them in order: how many millimetres from the door edge the cup centre goes, how deep the hole is drilled, where the plate sits on the side panel, and which screw moves the door left-right, in-out and up-down. The dimensions are for 16–18 mm laminated chipboard and MDF doors, and each step ends with a way to check the result.
Tools You Need: 35 mm Bit, Drill, Screws and Tape Measure
Fitting a cup hinge starts with a blind hole in the door, so the main tool is a 35 mm Forstner bit. No other bit will do the job: a spade bit has a long centre point that comes through the face of a 16 mm door, and it leaves an uneven bottom. Fit the Forstner bit in a drill or a cordless driver and control the depth with a stop collar, or at the very least with a tape mark on the bit.
For fixing into 16–18 mm board the usual choice is a 3.5×16 mm furniture screw: it holds the hinge firmly and does not come through the face of the door. Where the other sizes are used is covered in the guide to furniture screw sizes. For marking out you need a 3 m tape measure, a square, a sharp pencil and an awl to prick the screw positions. When you buy the hinges, ask whether the mounting plates and screws are included.
Marking the Door: Distance from the Edge and from the Top
The dimensions in this article apply to the concealed cup hinge, the kind that cannot be seen from outside when the door is closed. Mark the cup centre 21–22 mm in from the edge of the door that carries the hinges. A 35 mm hole has a radius of 17.5 mm, so about 4 mm of material is left between the hole and the edge. This margin is normally 3–6 mm: with less, the edge is weak and can break out; with more, the overlay of the door on the carcass changes and the screw cannot always correct it.
In height, hinges go 7–12 cm from the top and bottom edges of the door. Look at the carcass first: the mounting plate must not land on a shelf, a drawer slide or the top and bottom panels of the carcass. Tall and heavy doors get a third hinge, and a fourth if needed, spaced evenly between the two outer ones. Check: draw the line with a square — all centres must sit on one line, the same distance from the edge.
Drilling the Cup Hole: 35 mm Diameter
The hole is 35 mm in diameter; its depth is set by the cup of the hinge you actually have. Depending on the model the cup is roughly 11.5–13 mm deep, so measure it first with a calliper or a rule and drill the hole about half a millimetre deeper. In a 16 mm door a 12 mm hole leaves only 4 mm at the bottom, and the centre point of the bit goes deeper still. That is why a depth stop is a must.
Drill a test hole first in an offcut of the same thickness and check the face side for a bulge or a mark. Lay the door on a flat, firm surface, prick the centre with the awl, hold the bit vertical and drill at medium speed, lifting it once or twice to clear the chips. Check: put the hinge in the hole — the rim of the cup must sit flat on the door surface and the hinge must not rock.
Fixing the Hinge to the Door and the Carcass
Seat the hinge in the hole and turn the arm square to the edge of the door; check it with a square or with a straight batten laid against the arms of two hinges. Prick the screw positions with the awl and fix each hinge with two 3.5×16 mm screws. If you use a cordless driver, do the last turns by hand so the thread in the chipboard does not strip.
The mounting plate is fixed to the side panel on a line set back from its front edge. For a full overlay door (one that covers the carcass edge) this line is usually 37 mm from the front edge; for an inset door (one that sits inside the carcass) it is further back by the thickness of the door. This is a common convention, but the figure can differ from hinge to hinge, so try it on one door first. Transfer the height of the plates from the hinge centres on the door. The difference between full overlay, half overlay and inset hinges is explained in the guide to cabinet hinge types. Hang the door and tighten the screws. Check: the closed door must sit parallel to the edge of the carcass.
Adjusting in Three Directions: Left-Right, In-Out, Up-Down
Once the door is hung, the gaps are set with the screws. The screw on the hinge arm nearest the door moves it left and right: it sets the gap between two doors and how parallel the door is to the carcass edge. The rear screw moves the door in and out, that is, it changes the gap between the closed door and the front edge of the carcass; on some hinges you loosen this screw and slide the arm. Height is adjusted at the plate: if the screws sit in slotted holes, loosen them slightly, raise or lower the door and tighten again.
Not every hinge has all three. The 3D adjustable soft-close hinge is designed to adjust in height, depth and width. On the plain hinge without soft close, look at which screws it has when you buy it. Turn the screws half a turn at a time, closing the door and looking at the gap after each one. If the whole door has to move sideways, turn the screws on all hinges by the same amount; if the door is crooked, turn the top and bottom hinges in opposite directions. Check: the gap between neighbouring doors must be the same width from top to bottom.
Common Problems and How to Fix Them
If the door sags, meaning its free side has dropped, first check the screws of the plate and the cup: a loose screw is the usual cause. After tightening, use the side screw of the top hinge to pull the door towards the side panel that carries the hinges, and move it the opposite way on the bottom hinge. If the door rubs on its neighbour, use the side screws of all hinges to shift it slightly towards the hinge side.
If the door will not close and springs back open, it is usually binding against the carcass on the hinge side. Bring it forward a little with the rear screw; on an inset door, widen the gap at the edge with the side screw. If the hinge type does not match the way the door sits (for example, a half overlay hinge on a full overlay door), adjustment will not help and the hinge has to be replaced.
If a screw hole in the chipboard has stripped, glue a sliver of wood or a dowel into it with PVA and drive the screw again once it has dried. If the edge of the cup hole has broken out, the hinge has to be moved a few centimetres up or down and a new hole drilled.
A Separate Hinge for Glass Doors
A blind 35 mm hole cannot be routed in glass and a screw will not hold in it, so an ordinary hinge is not used on a glass door. Display cabinets and glass doors take a dedicated glass door hinge: it holds the glass through rubber or plastic gaskets so that metal never touches the glass directly. The catalogue lists it in full overlay, half overlay and inset versions, so it is chosen the same way as for a wooden door: does the door cover the carcass or sit inside it. Before buying, check two things on the product itself: whether the hinge needs a hole in the glass or clamps onto it, and what glass thickness it is made for. If a hole is needed, the glass workshop makes it; toughened glass cannot be drilled afterwards. When tightening the screws, make sure the gaskets are in place and do not overtighten. All hinges and fixings are listed with their sizes in the product catalogue.
For an overview of every type, see the furniture hardware guide.
Want to place an order?
You can easily place your orders via WhatsApp.